Introduction
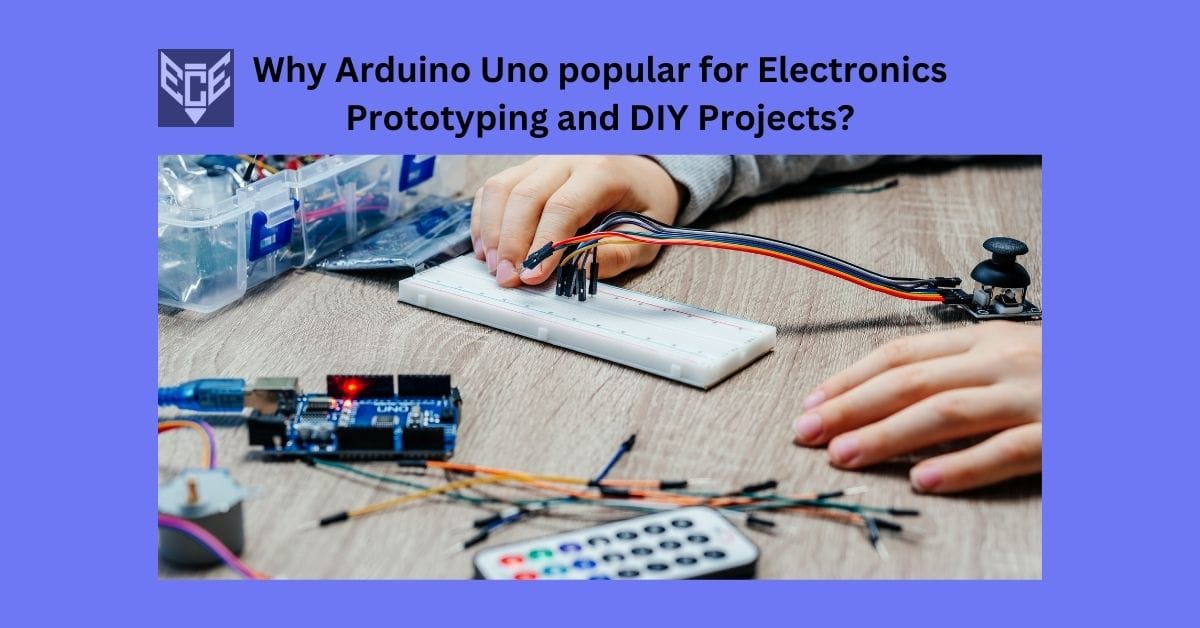
The Arduino Uno for electronics prototyping is one of the most widely used microcontroller boards, popular among students, hobbyists, and professionals. Its ease of use, affordability, and strong community support make it the best Arduino board for beginners.
What is Arduino Uno?
The Arduino Uno is an open-source microcontroller board based on the ATmega328P. It provides a simple platform for electronics prototyping, enabling users to create IoT, automation, and robotics projects.
Key Features of Arduino Uno
- Microcontroller: ATmega328P
- Operating Voltage: 5V
- Digital I/O Pins: 14 (6 PWM outputs)
- Analog Input Pins: 6
- Clock Speed: 16 MHz
- Connectivity: USB, Power Jack, ICSP header
- Programming: C/C++ using the Arduino IDE
Why is Arduino Uno Ideal for Prototyping?
✅ Beginner-friendly – No advanced coding knowledge required.
✅ Plug-and-play compatibility – Easily connects with sensors and shields.
✅ Strong community support – Access thousands of tutorials and libraries.
✅ Affordable – A cost-effective choice for students and DIY enthusiasts.
✅ Versatile applications – Used in IoT, robotics, automation, and industrial systems.
Comparison: Arduino Uno vs. Other Microcontrollers
| Feature | Arduino Uno | Raspberry Pi | ESP8266 | STM32 |
|---|---|---|---|---|
| Ease of Use | ✅ Beginner-friendly | ❌ Requires Linux knowledge | ✅ Moderate | ❌ Complex |
| Cost | ✅ Affordable | ❌ Expensive | ✅ Budget-friendly | ✅ Affordable |
| Processing Power | ❌ Limited | ✅ High | ✅ Medium | ✅ High |
| Connectivity | ❌ No built-in WiFi | ✅ WiFi, Bluetooth | ✅ WiFi | ❌ Requires external modules |
| Best For | Prototyping & Learning | AI & Multimedia | IoT Projects | Industrial Applications |
💡 Conclusion: Arduino Uno is the best Arduino board for beginners and ideal for electronics prototyping, whereas Raspberry Pi is better for computing applications and ESP8266 is great for IoT projects.
Best DIY Projects Using Arduino Uno
Looking for DIY projects using Arduino Uno? Here are some exciting options:
1️⃣ Smart Home Automation – Control lights, fans, and security systems.
2️⃣ IoT Weather Station – Monitor temperature and humidity in real-time.
3️⃣ Gesture-Controlled Robot – Control a robot using hand gestures.
4️⃣ Gas Leakage Detector – Detect harmful gases and trigger an alarm.
5️⃣ Mini CNC Machine – Build a computer-controlled cutting machine.
These projects help develop hands-on skills in electronics, coding, and IoT.
How to Program Arduino Uno?
If you’re new to Arduino, follow these steps to get started:
1. Buy the Required Components
✔ Arduino Uno board
✔ USB cable for power & programming
✔ Breadboard & Jumper Wires
✔ Basic Sensors & Modules (LEDs, resistors, temperature sensors)
2. Install Arduino IDE & Drivers
- Download and install the Arduino IDE from the official website.
- Install the required drivers for your board.
3. Write Your First Code (Blink LED)
void setup() {
  pinMode(13, OUTPUT); // Set Pin 13 as an output
}

void loop() {
  digitalWrite(13, HIGH); // Turn LED on
  delay(1000); // Wait 1 second
  digitalWrite(13, LOW); // Turn LED off
  delay(1000); // Wait 1 second
}
- Upload the code to your Arduino Uno.
- If successful, the LED will blink every second.
🎯 Congratulations! You’ve completed your first Arduino project!
Conclusion
The Arduino Uno for electronics prototyping is a powerful yet simple platform that makes DIY projects accessible for students, hobbyists, and professionals. Its affordability, ease of use, and vast online support make it the best Arduino board for beginners. Whether you’re working on Embedded projects, IoT projects, or Robotics projects, Arduino Uno is an excellent choice for turning ideas into reality.
🔹 Start building today and bring your electronics projects to life! 🚀
[addtoany]
Contact
+91 7058787557
info@eceprojectkart.com
Pune, Maharashtra